Blog
My Astro Projects
Deep Sky Objects (DSOs)
Planets & Moons
Capturing the "Blue Moon" with a DSLR camera only
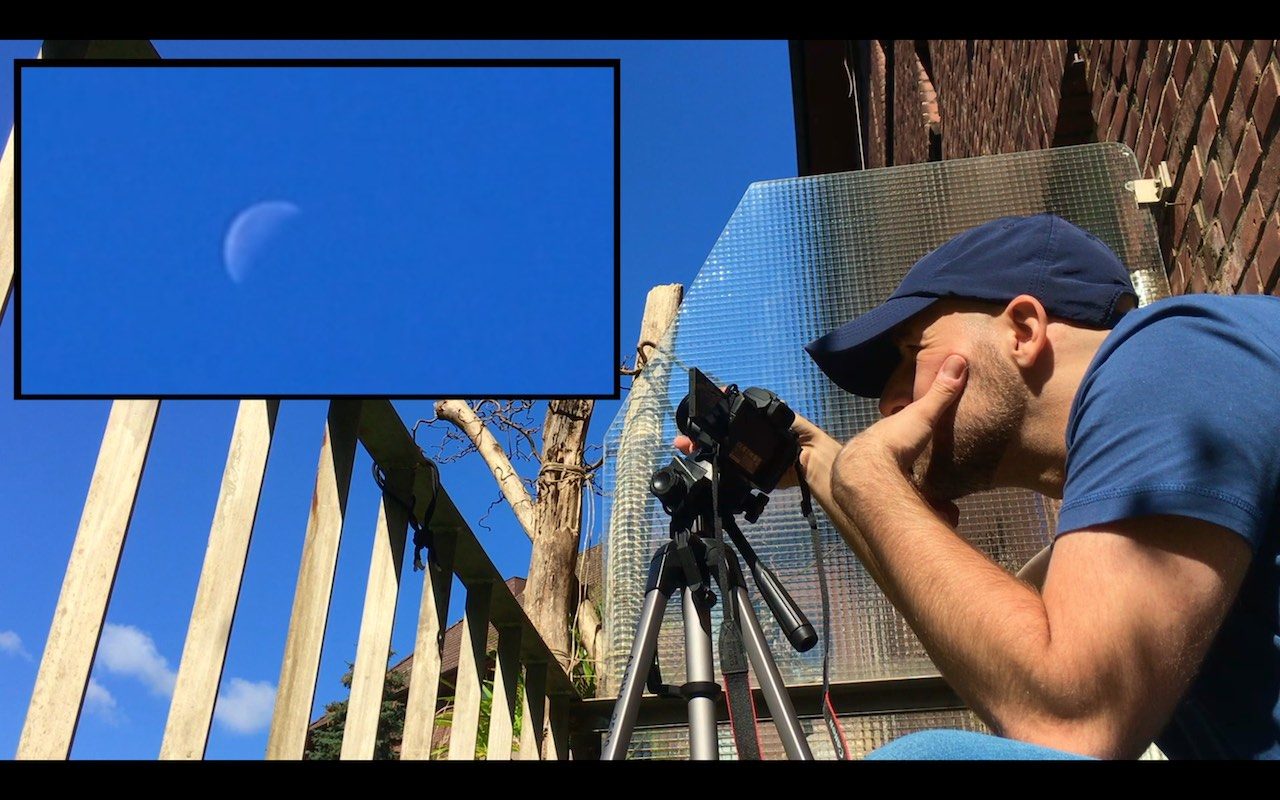
The last day of August and the summer really shows all its sunny power. No ideal conditions for classical astrophotography, I know. BUT: To practise my skills I decided to capture the „Blue Moon“ only with my DSLR (Fig. 1).
Towards new moon and with only 37% illumination you have a quite low contrast. So thats not an easy task. But it was okay for some stacking tests I did. (31.08/2021)
Results
Due to the conditions (37% moon illuminated and daytime – low contrast) and perhaps focussing (hard to see on a sunny day – could have used a cardboard) it was not the day to make a great picture of the moon. BUT: I learned something about image stacking. (I am currently using Lynkeos® because I am working with a Mac at the moment.)
Since I made a movie of the moon I had a lot of single images from my 5-7 min capture.
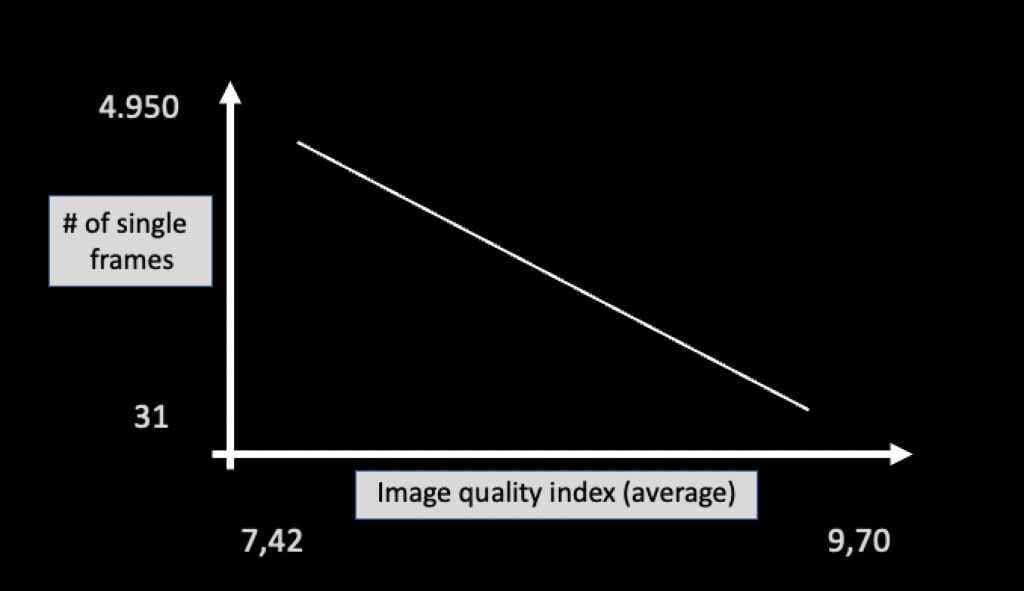
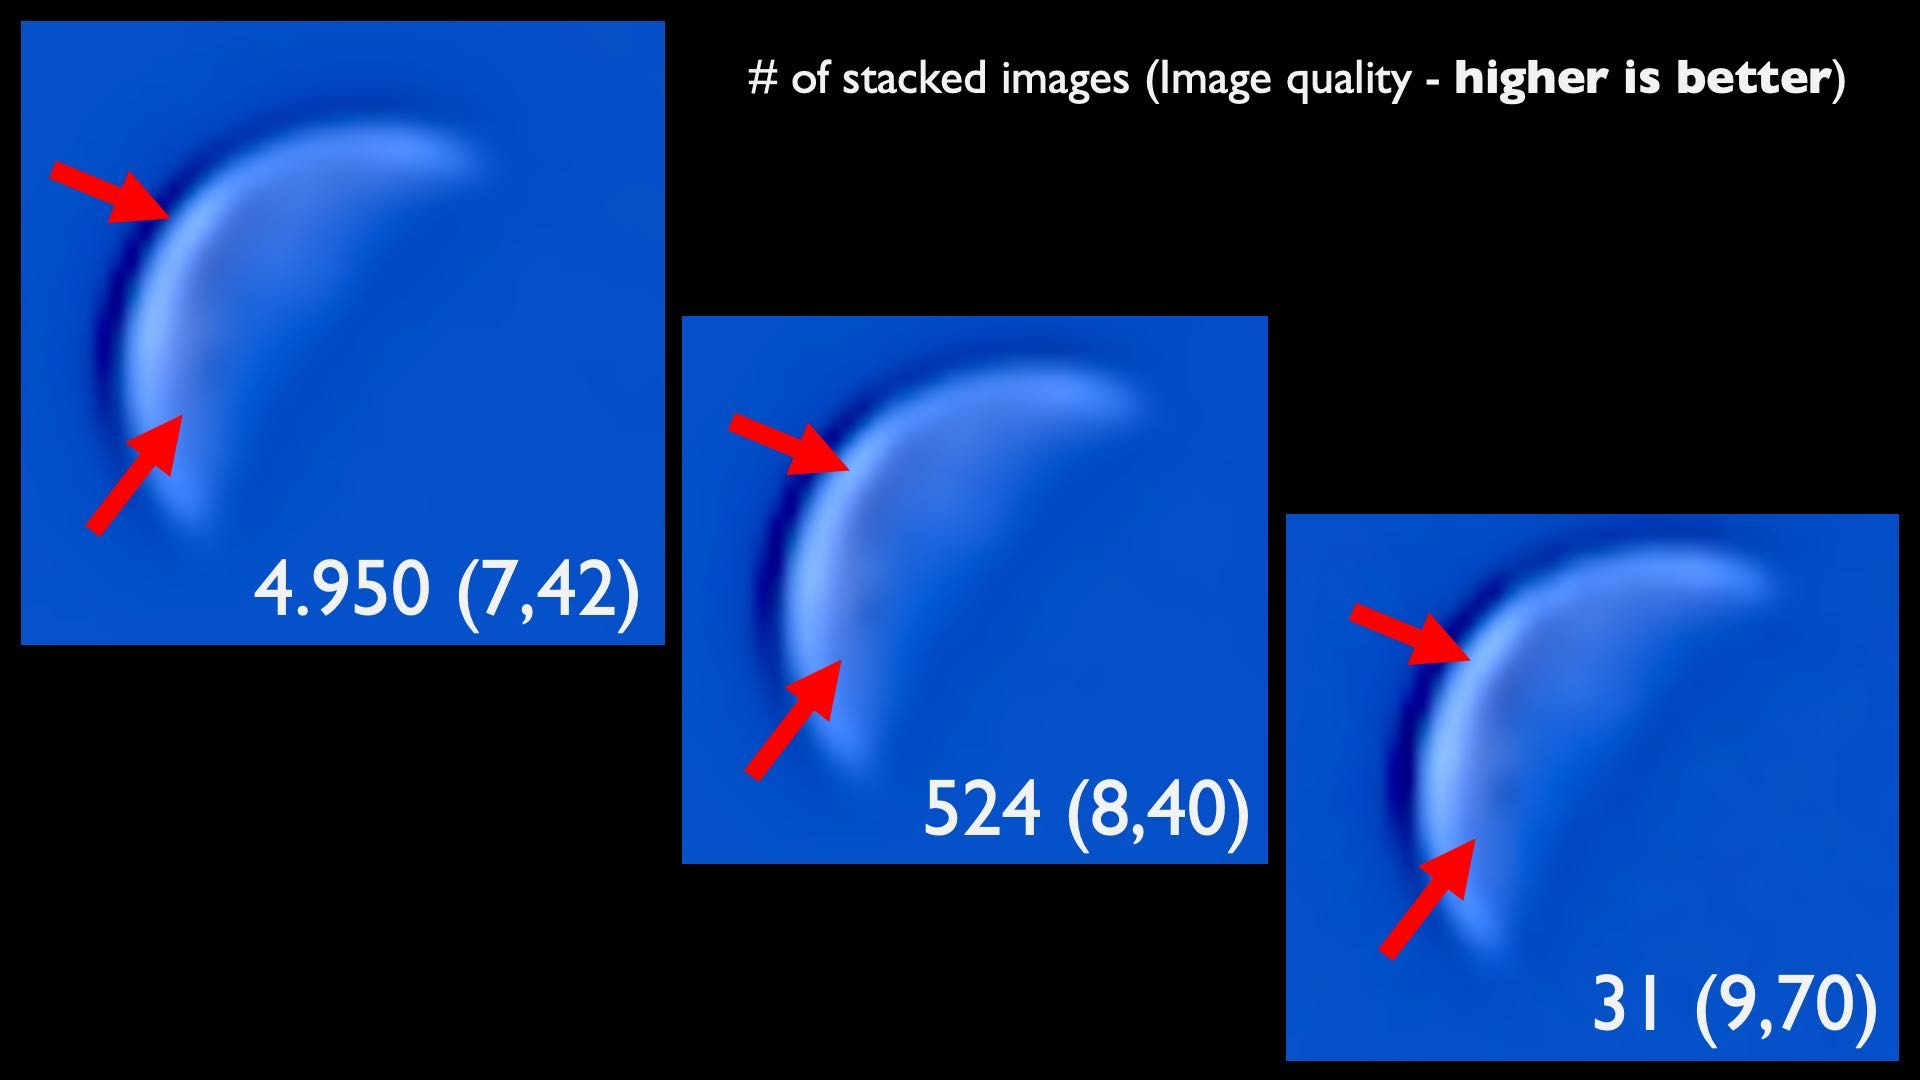
I stacked 4.950, 524 and 31 single images respectively with increasing average image quality (Fig.2 -(quality) & Fig.3).
31 single frames from the movie were sufficient to reach an even better/ higher total stacked image quality than stacking single frames with hundreds or even thousands of single frames.
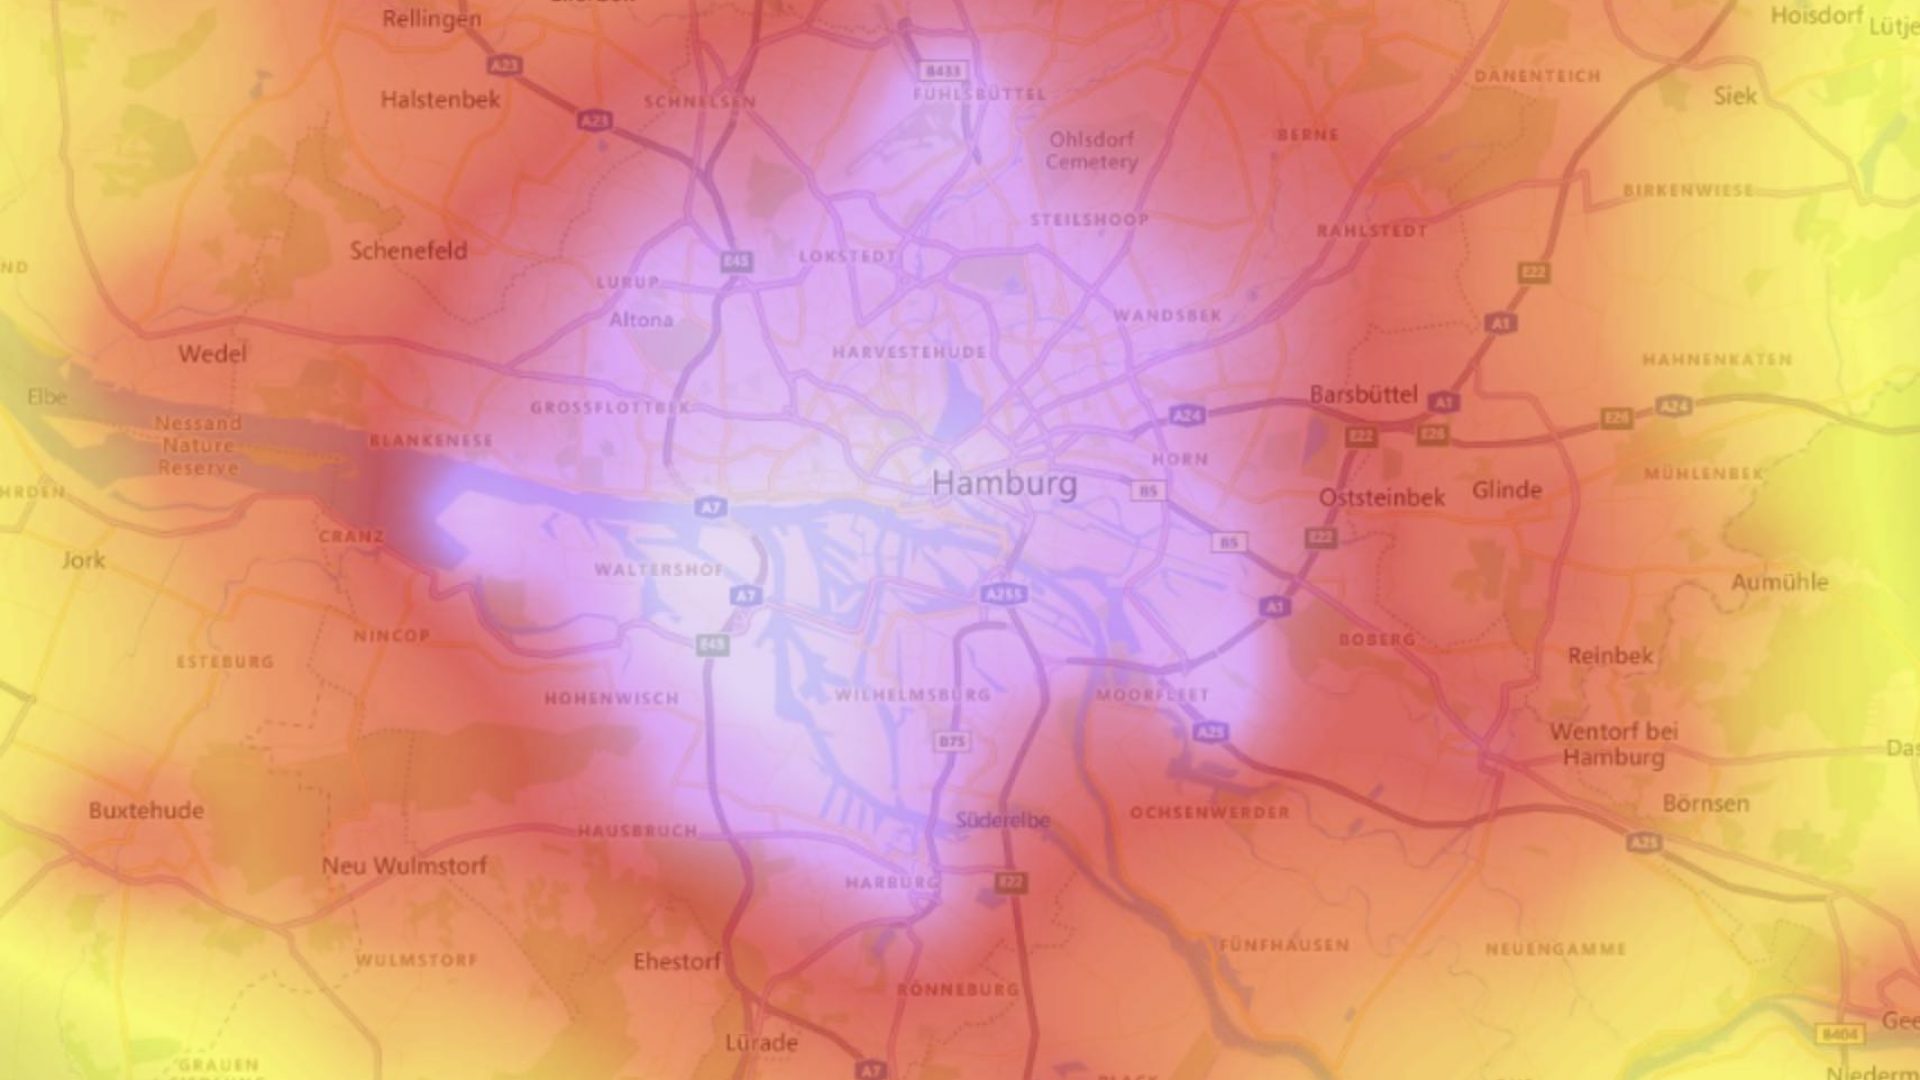
Location: City (Hamburg, Germany), Backyard, Bortle Scale 6-7 (see educational site)
Weather: 19/66 (°C/F), 55% rel. humidity
Moon phase: 37% illuminated (toward new moon)
Instrument: Canon EOS M50, 15-45mm kit lens
Filter: None
Camera Settings: 5min video (.mp4 file)
M27
Text … (Fig. 1).
Text… (31.08/2021)
Results
Text… (Fig.2)
asdddd
31 single frames from the movie were sufficient to reach an even better/ higher total stacked image quality than stacking single frames with hundreds or even thousands of single frames.
Location: City (Hamburg, Germany), Backyard, Bortle Scale 7
Weather: 19/66 (°C/F), 55% rel. humidity
Moon phase: 37% illuminated (toward new moon)
Instrument: Canon EOS M50, 15-45mm kit lens
Filter: None
Camera Settings: 5min video (.mp4 file)
